strongswan测试
主要是把strongswan安装,配置,隧道建立起来。
编译安装
apt安装
| Bash | |
|---|---|
1 2 | |
编译安装
| Bash | |
|---|---|
1 2 3 4 5 | |
配置解析
Ipsec.secret
详见https://wiki.strongswan.org/projects/strongswan/wiki/IpsecSecrets
Ipsec.conf
详见https://wiki.strongswan.org/projects/strongswan/wiki/IpsecConf
命令
暂时先用start命令
| Bash | |
|---|---|
1 2 3 4 5 6 7 8 | |
进程
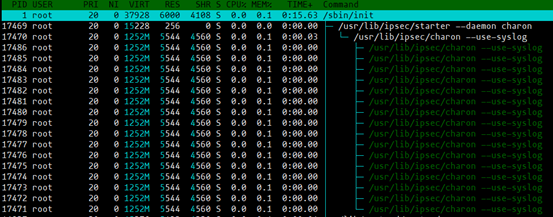
Starter:解析配置文件(ipsec.conf)等,并传递给守护进程charon。
Charon:IKE协商进程。
运行测试
预共享密钥(一对一)
测试环境
两台Ubuntu16.04服务器版
暂时用apt安装strongswan
组网方式
| Text Only | |
|---|---|
1 | |
安装
| Bash | |
|---|---|
1 2 | |
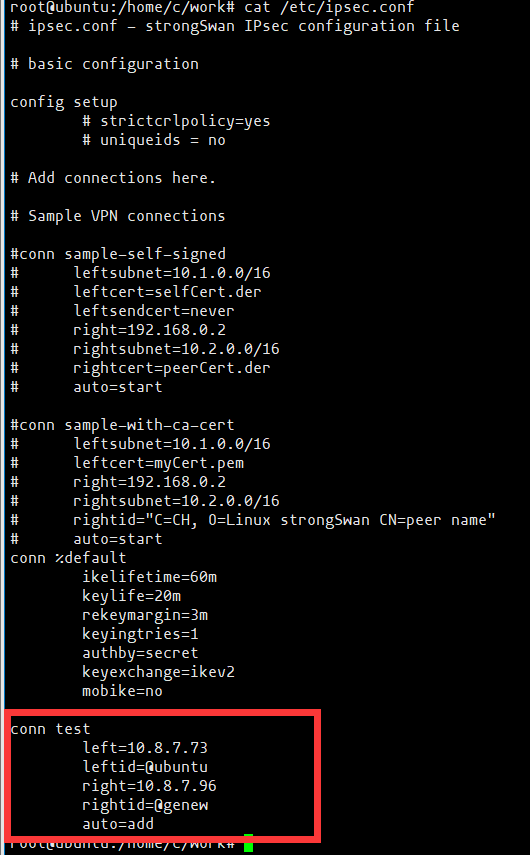
配置预共享密钥
| Bash | |
|---|---|
1 | |

配置实例
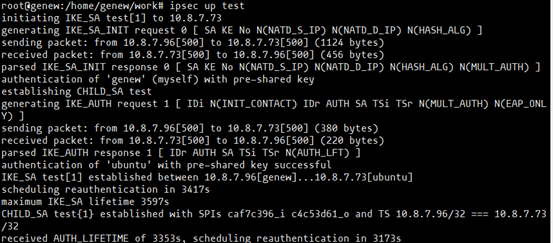
启动
| Bash | |
|---|---|
1 2 3 4 | |
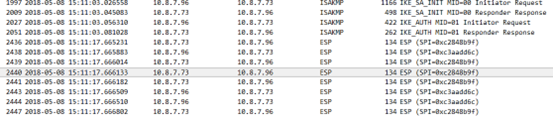
检测隧道
分别在两台电脑运行tcp客户端和服务端程序。
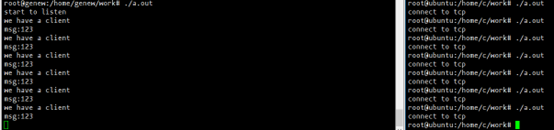
wireshark抓包,如下图所示:
预共享密钥(一对多)
环境
三台Ubuntu16.04,服务器版本
安装步骤同上一个测试case。
组网
| Text Only | |
|---|---|
1 2 3 4 5 | |
配置预共享密钥
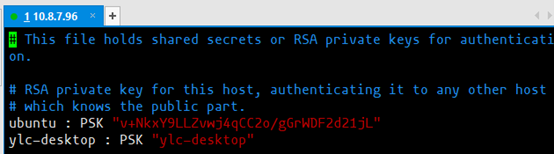

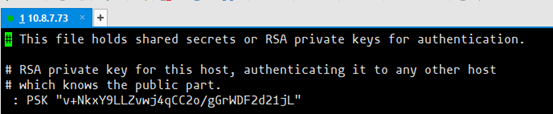
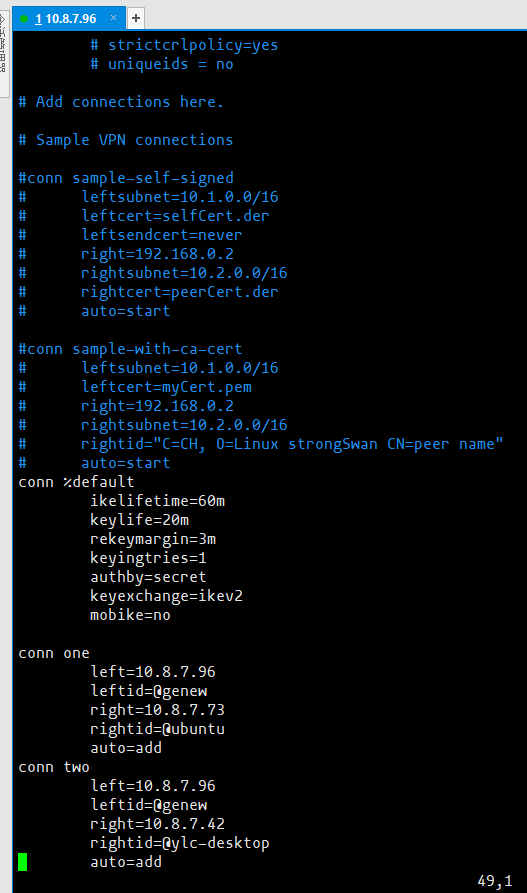
配置实例
结果
略。。。
公钥认证
测试环境
同上
组网
| Text Only | |
|---|---|
1 | |
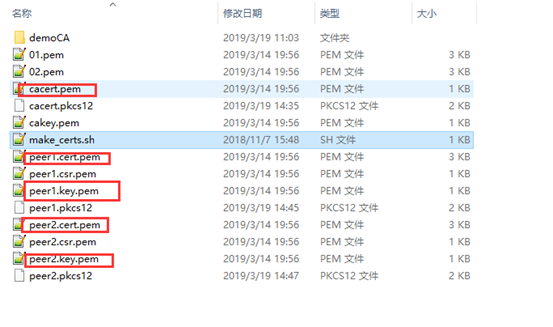
准备证书
配置ipsec.secret

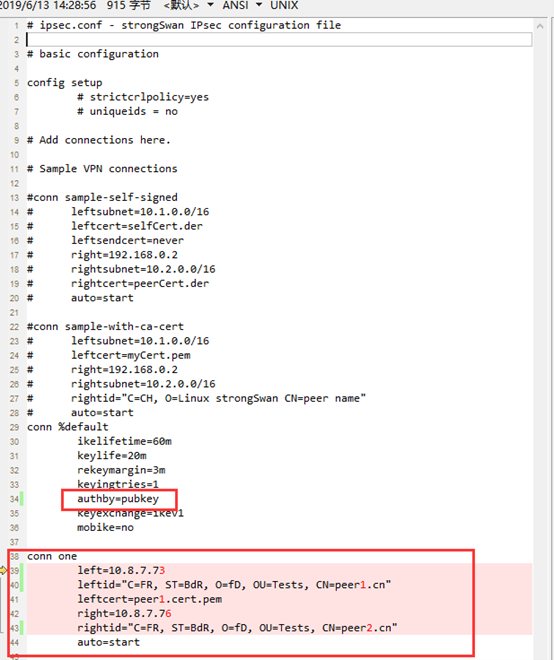
配置ipsec.conf
启动
启动测试步骤同上。